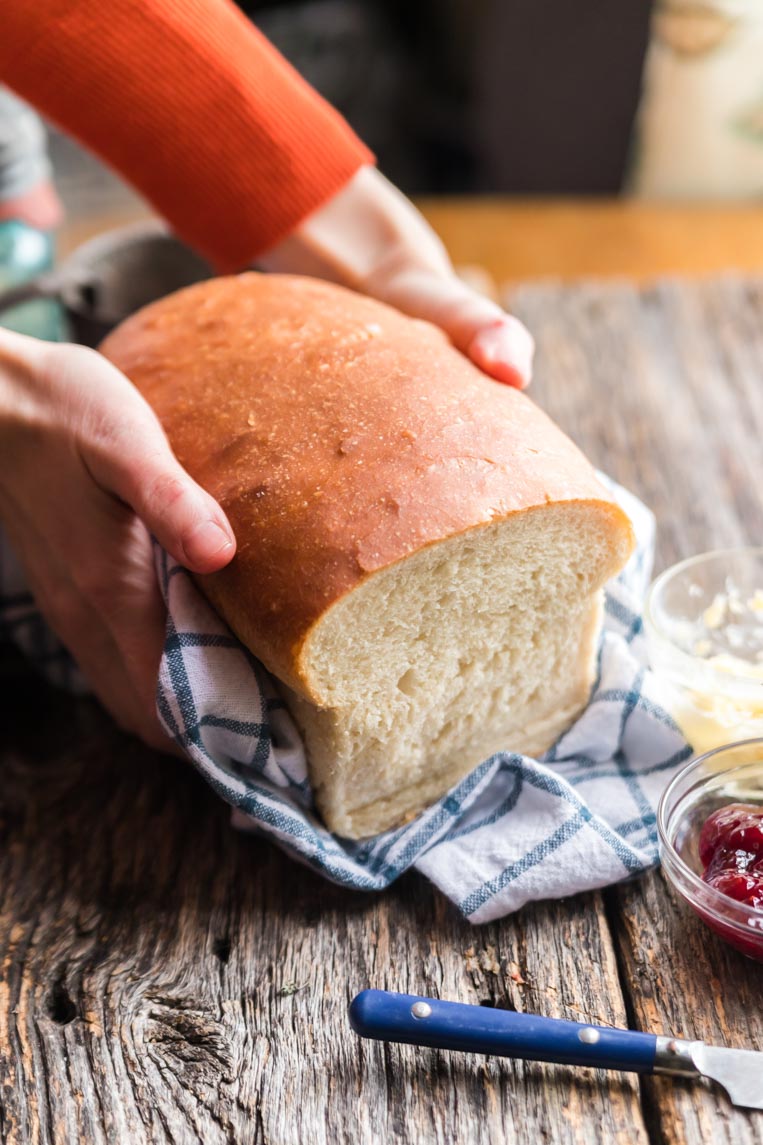
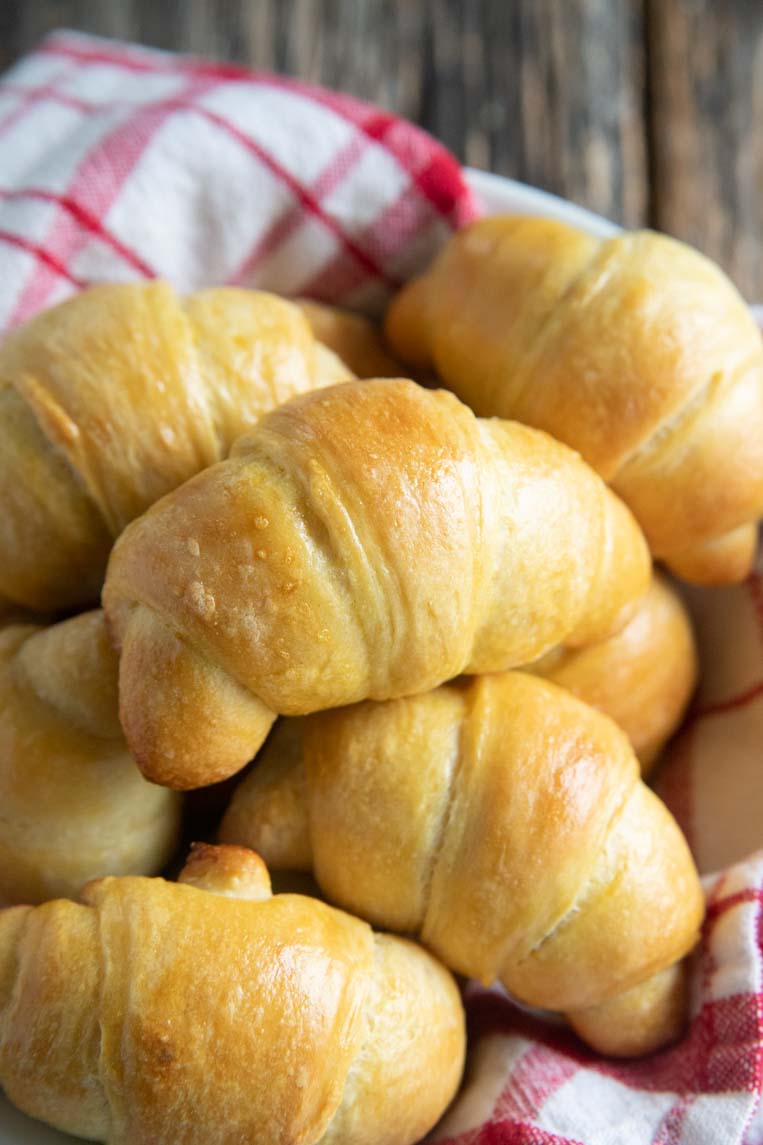
Super buttery homemade crescent rolls
There’s nothing like a real, buttery homemade crescent roll to help you realize the blue tubes from the grocery just aren’t the real deal. Delicate, slightly sweet, and perfectly buttery, try your hand at a batch and never go back!
What’s a crescent roll and how are they different than a croissant?
Croissants are a French pastry that uses layers of butter laminated between dough to create flakes and rise when baked. The process for making croissants is much more in-depth than crescent rolls.
Crescent rolls are really just referring to the shape of the roll itself. Usually made from a classic yeasted bread dough (no butter lamination). Triangles are cut and rolled from the wide end to the narrow point then slightly bent to create the crescent shape.
Why bother making homemade crescent rolls?
Homemade crescent rolls are always better tasting. That’s probably not surprising. While canned crescent rolls have been around since about 1965, they are far from a quality food to eat.
Over the years the recipe has been tweaked to add more and more preservatives, inflammatory oils and sugar making them only a resemblance of what good bread should be.
You can make crescent rolls at home and freeze them rolled but not risen yet. Then when you want to bake, just take them out to thaw and rise.
Can I substitute instant yeast for active dry?
Yes. Technically, you would need a bit less instant yeast than active dry, but for the sake of simplicity just use the same amount. It will be fine.
Go ahead and activate it in water first just like I do with the active dry.
Can I use all purpose flour?
You can. The rolls may not rise quite as well, but it works.
Can I make this recipe gluten free?
Not this one. Gluten free flours are not interchangeable with wheat based ones and the final result would be very disappointing.
How to make homemade crescent rolls step by step


Watch those bottoms!
Because of the sugar in crescent roll dough, it’s easy for them to get dark on the bottom before they are baked on top.
Make sure you use a lighter colored pan if you can, keep the oven temperature lower than other breads you bake, and rotate the pan from front to back halfway through baking.
Flavor ideas to try
Crescent rolls are so versatile you can take them any direction you like! Try these flavor additions:
- Cinnamon sugar
- Parmesan, garlic and Italian seasoning
- Ham and Swiss cheese
- Cooked breakfast sausage and cheddar
- Fruit jams or apple butter
- Everything bagel seasoning
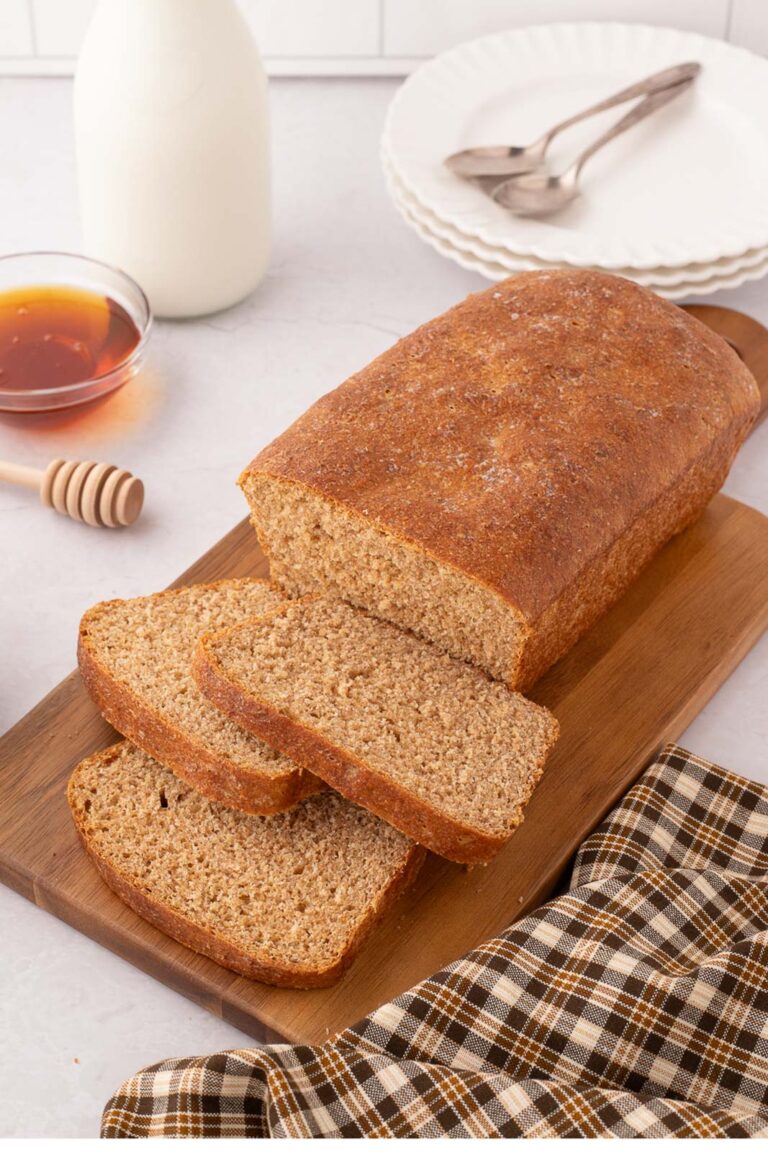
You can swap the sugar for honey in this recipe with these simple steps.
How long are crescent rolls good for?
Tightly sealed, crescent rolls will last on your counter for about 3 days. You’ll want to re-warm them before eating because the butter in them will cool and the rolls will feel hard.
They’ll soften right up with 5 or 10 minutes in a 350 degree oven or a few seconds in the microwave.
How to freeze and rewarm crescent rolls
You have two options. Roll the crescents then place them on a cookie sheet uncovered and freeze until solid. Transfer the frozen rolls to a bag or vacuum seal until you’re ready to thaw and bake later.
Or you can bake them and freeze. Bread is very prone to freezer burning so wrap them well or place them in an air tight container for up to 6 weeks.
To freeze them, you can arrange the rolls on a cookie sheet and freeze them individually, or toss them in any air tight container and into the freezer. They won’t stick to each other.
You can rewarm them from frozen by wrapping in some foil and baking at 350 or so until warm throughout–maybe 8 or 10 minutes.
Recipes that use crescent rolls to try
Crescent rolls make an amazing base for so many recipes and be seasoned with variations for something new. Try these ideas out once you master the main recipe:
- Cheesy crescent rolls
- Crescent roll taco ring
- Sausage cream cheese crescent rolls
- Pizza stuffed crescent rolls
- Crescent ham rolls
- Raspberry crescent rolls
- Crescent roll cinnamon rolls
Ingredients
- 1/4 cup water
- 1/4 cup milk (2% or whole)
- 2 1/4 teaspoons active dry yeast 1/4 ounce
- 1 egg room temperature
- 3 cups bread flour 280 grams (2 1/2 cups) plus 76 grams (1/2 cup) reserved for kneading
- 1/4 cup sugar 56 grams; I used organic cane sugar
- 1 1/4 teaspoons fine sea salt 7 grams
- 1/4 cup butter 40 grams; Softened at room temperature until pliable but not greasy
Instructions
- Add the milk and water to a measuring cup and warm in the microwave to 110 Fahrenheit. You can also warm it on the stove in a pot if you'd prefer. Add the yeast, and stir to dissolve. Allow the yeast to rest and proof until foamy–about 5 to 7 minutes.
- Add the egg to the milk mixture and beat to combine. Set aside.
- In a medium bowl mix 2 1/2 cups of flour, sugar and sea salt. Pour in the milk mixture and stir to combine. Depending on moisture levels, you may need to add a tablespoon or two of additional water if your dough has too many dry pockets of flour at the bottom of the bowl.
- Bring the dough together in the bowl into a shaggy mass. Using the remaining 1/2 cup of flour, sprinkle a couple of tablespoons on to a countertop and turn out the dough.
- Add a chunk of butter to the middle. Maybe a large teaspoon or so. Knead the butter in to the dough lightly, just until you can't see it. Keep adding bits of butter a little at a time and kneading for a total of 6 to 7 minutes, using the remaining flour on your hands and the board. Sometimes the butter will poke out in spots and be quite sticky. That's okay.
- Return the dough to the original bowl and either cover or leave it open to air–it won't hurt it. Let the dough rise in a cool 65 degree place for 4 hours. This helps develop the flavor.
- One a lightly floured surface, turn out the dough and roll to a 13" circle. Cut the dough in to quarters, then each quarter in to fourths, making triangles that are about 2-2 1/2 inches wide at their widest end.
- Roll up gently without pressing down on the dough from the wide end to the point. It's okay to give the wide end a little stretch before rolling to make the rolls a little wider.
- Transfer to two parchment paper lined baking sheets with the point end of the roll tucked underneath.
- Let rise until puffed but not doubled; about another hour at 65-68 degrees.
- Beat one egg with a tablespoon of water and gently brush over each roll making sure to cover them on all sides.
- Preheat the oven to 325. Bake one pan at a time on the upper third rack keeping an eye on the bottoms of the rolls–they can burn quickly. Rotate the pan halfway through baking and bake until just golden on top–about 20 to 22 minutes but start checking them early.